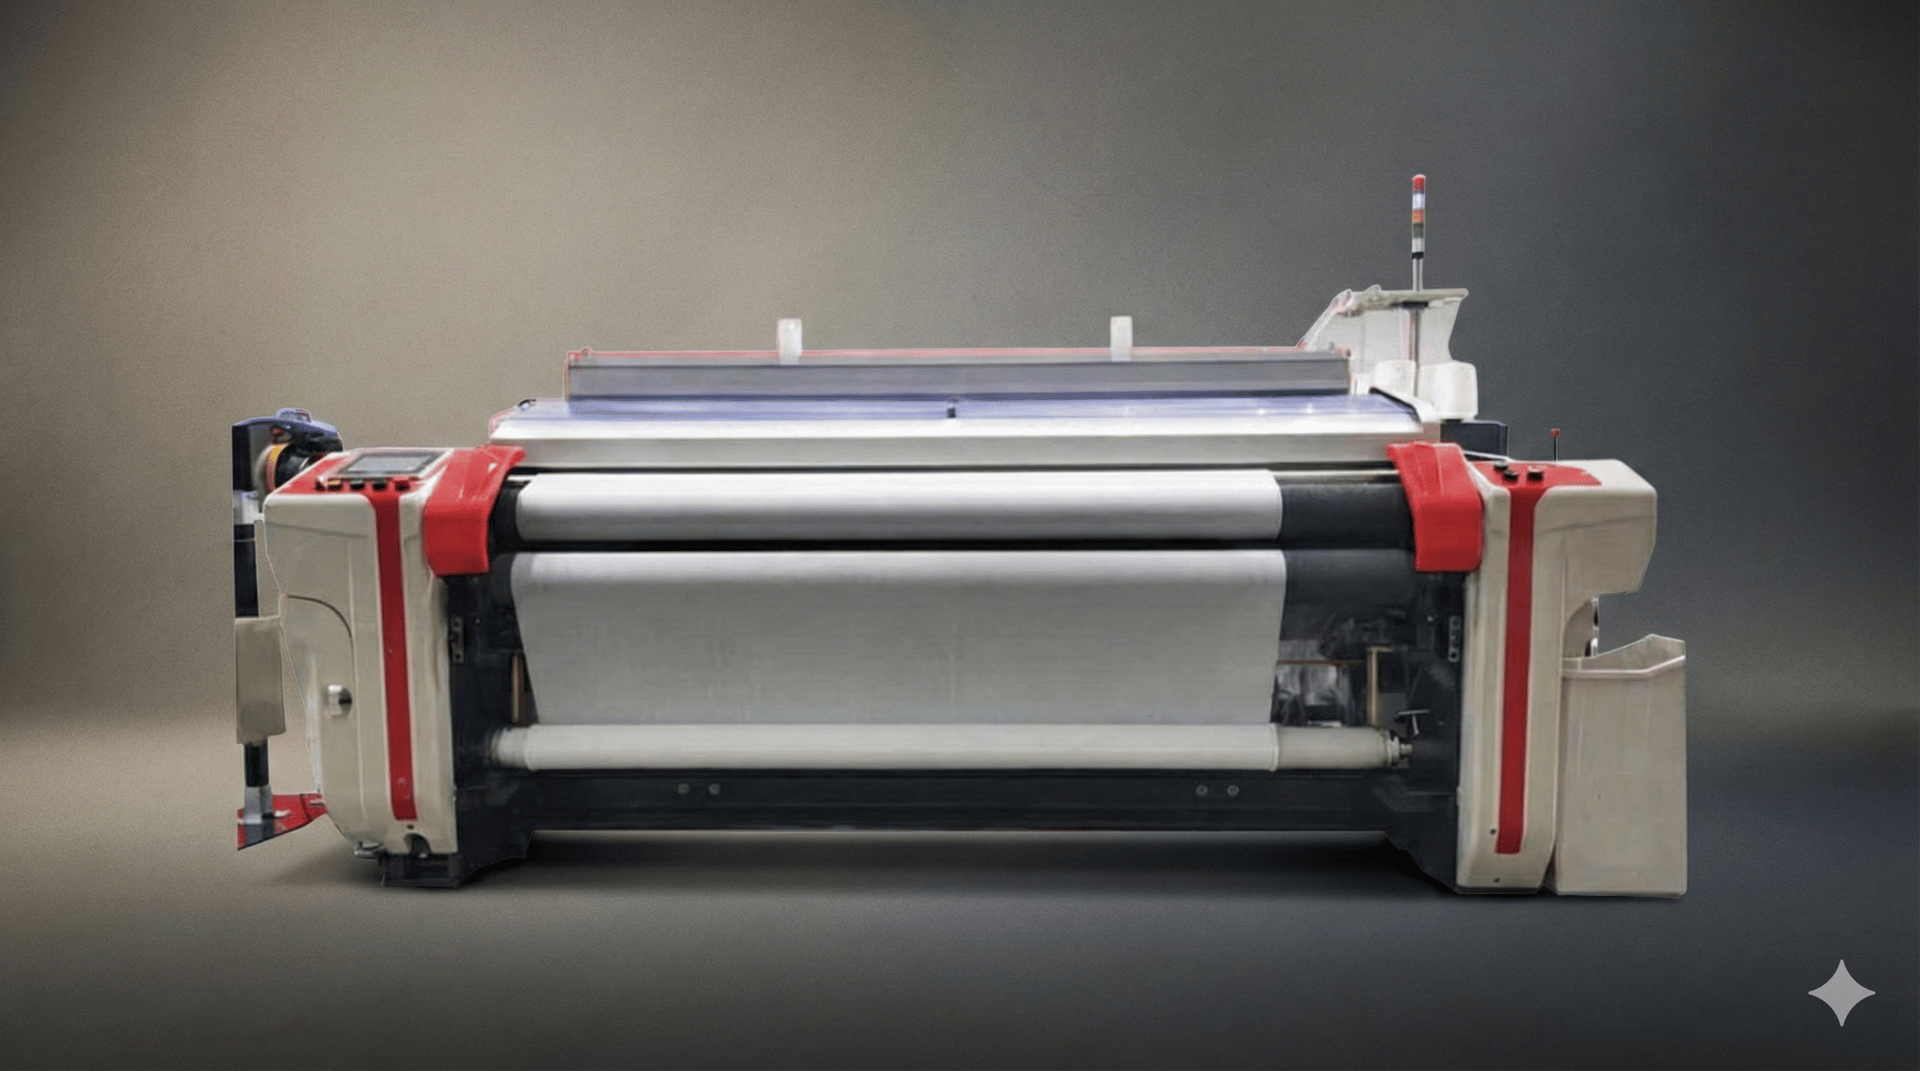
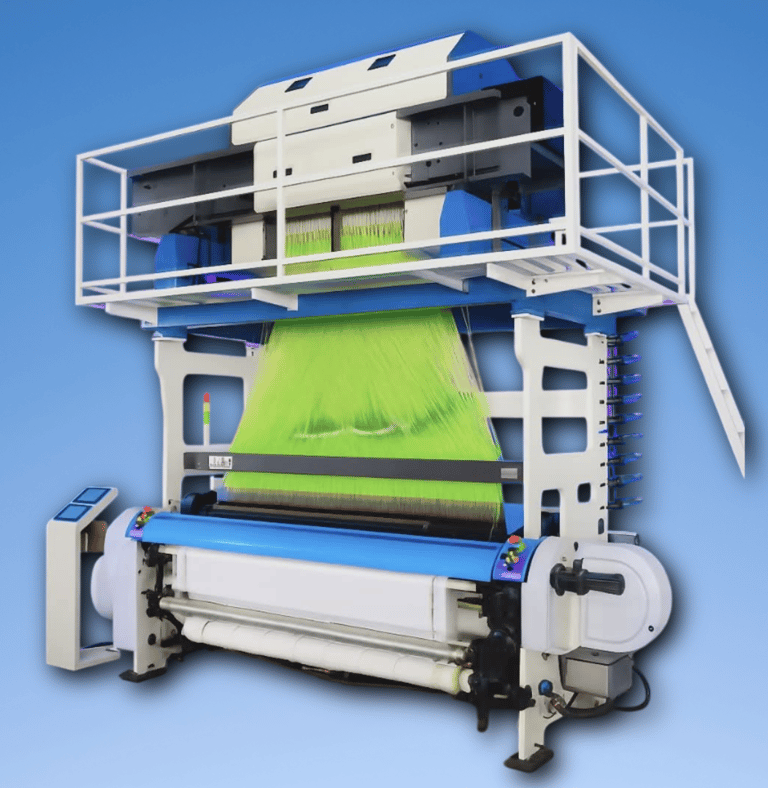
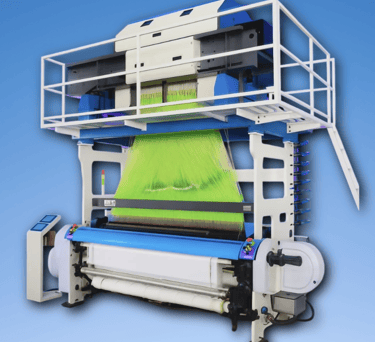
Windows Mail (Vista) set-up instructions
How to Configure your E-mail Account in Windows [Vista] Mail
1. Open Windows Mail.
2. Click on Tools and select Accounts from the drop down list.
3. On the Internet Accounts screen, Click the Add button.
4. Select E-mail Account on the “Account Type screen” and click Next.
5. Enter the Display Name of your choice and click Next.
6. Enter your email address and click Next.
7. Select POP3 from the drop down list of server types.
* Enter 195.74.104.186 in the “Incoming Mail Server” field.
* Enter 195.74.104.186 in the “Outgoing Mail Server” field and click Next.
Note: Check the box “Outgoing server requires authentication.”
8. Enter the E-mail username (your email address) and Password, then check the box ” Remember password” and click Next.
9. Make sure “Do not download my e-mail and folders at this time” is checked and click Finish to return to your Internet Accounts list.
10. Select the email account you just created, then click Properties.
11. On the Properties screen, Click the Advanced tab and click on “TLS, if available”. You can leave the port numbers unchanged.
12. Your e-mail account is now configured to check and send mail.
*Please note* that this information is for informational purposes *only*, and is provided as a courtesy to our users. If you have any further questions or problems, please contact Microsoft, your software vendor, or the manufacturer of your computer.